Tuesday, December 29, 2015

Money Salad! Finding funding for your Art program!

There is this little place near my school called Zoe's Kitchen. It is a Greek fusion kind of place with yummy salads and grilled meats with a Mediterranean flair. On ridiculously long days when the teachers stay after school for a special event, sometimes our parents will bring dinner and I always love to get something from Zoe's...chicken kabobs, spinach rolls...my mouth is watering just writing this! Yes, I know, I am spoiled and I have wonderful people at my school feed me when I volunteer to put in a 13 hour day, once or twice a year. Just keep reading, I'm getting to the "money part"!

Anyway, I recently noticed that a Zoe's had opened between my house and school. Later that same week a parent emailed me that the new Zoe's Kitchen was looking for a school partner that would make art for their store! The manager emailed me and we set up the details. They wanted something seasonal and would donate the canvases to be painted. When I stopped by to pick up the supplies I found that not only did they supply 48 canvas boards, but large tubes of acrylic paint and even brushes as well! As it turns out, Zoe's Kitchen stores are designed with set of ledges that go all the way around the store that the canvas boards fit into. It is part of the package!!

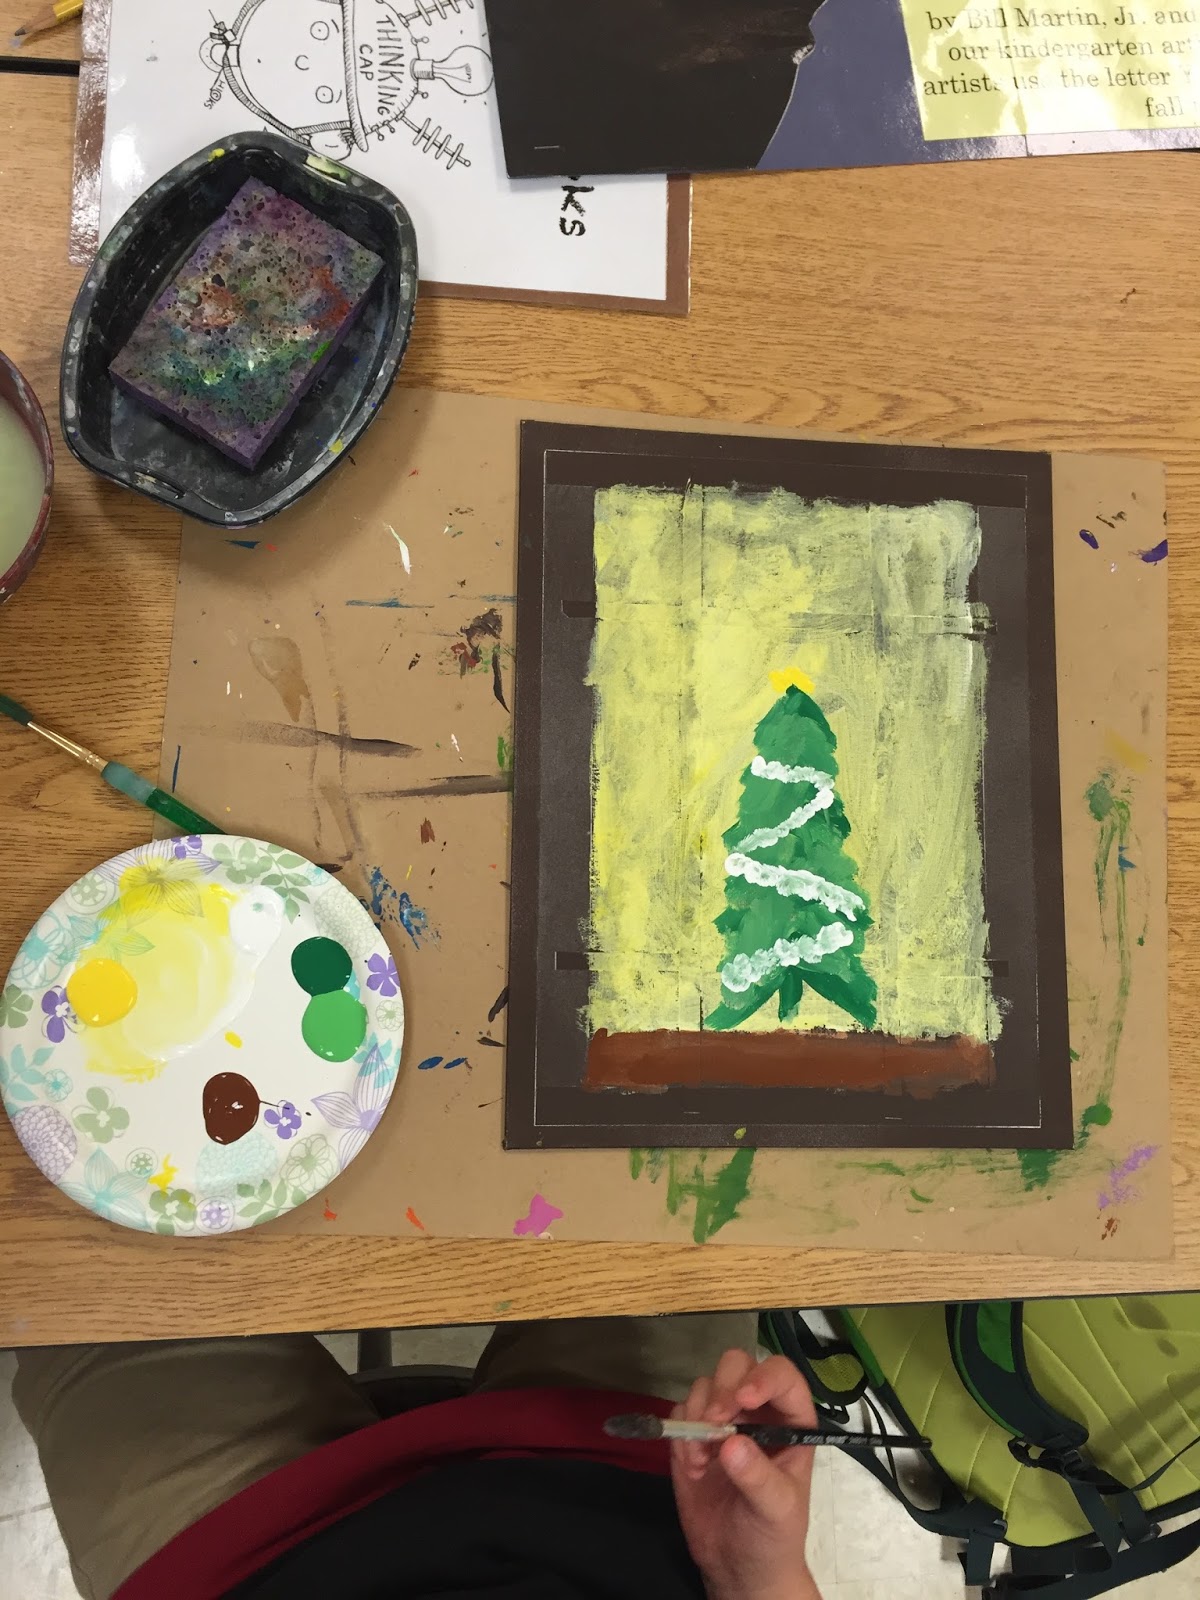
I set about devising a plan to make this work...I sent out a note with a registration slip to be returned the following Monday. The deal was that the first 24 k-1-2 students who returned their forms would paint one day after school and the first 24 3rd/4th grade students would paint the next day after school. Both classes were full by 7:55AM!!! I was amazed! By the end of the school day I had collected over 200 forms to paint the 48 canvases! We painted after school and the parents signed permission for Zoe's to sell the art work in the store. I have never done this before!

Here is the money part...Zoe's hosted an Art Show/ Eat Out Night. Our school will receive 15% of the profits for that night from 4-9, and parents can make a $20 donation to purchase their child's art work. Because Zoe's donated the supplies and I donated my time to help students paint them, I am surprisingly not feeling guilty about selling the art work! I will let you know how we do with the sale, but this is worth it just for the free paint and brushes!! Something to think about when the budget gets skimpy!
This is my daughter with her snowman dance party!


This is my son with the Christmas Creeper window!


Winter fun bulletin board!

We are always working on landscapes and atmospheric perspective so I threw this up for the new year! I would love to have the teacher's write a  goals for the new year on a snowflake and post it on the board for the children to see. You never outgrow goal setting!!
sNOw goal is too high this New Year!


Last year, my school goal was not to be at school past 4:00 unless I was sponsoring an after school activity. I did pretty well by setting my setting my phone alarm to go off at 3:45!

Wednesday, December 2, 2015

Making Hardcover Sketchbooks, Step by Step

So, I was showing someone the sketchbooks we made this year and I realized that I never posted the steps we used to make them! Here they are!

You need an inexpensive sketchbook and canvas board twice the size of the cover. Scissors to cut the fabric, a light weight fabric scrap the length of the book and a paper cutter to cut the canvas board.
Let the sketchbook maker paint the canvas board.


Next, add glue to the cover and stick one side of the fabric into it. Add some glue on top of the fabric and place one half of the canvas board on the cover and hold it. I like to put the cut side towards the spiral binding.
Flip the book over and repeat these steps.with the second half of the canvas board.


Cover the spiral binding with the fabric. 
The fabric will keep the spiral covered and keep other decorations from sticking to the binding. We used craft tape to cover the fabric. Some of the stiff glitter stuff could use a bit of tacky glue, but the fancy patterned Duct Tape works like a dream!


Saturday, November 14, 2015

An Art Show Connecting Art and Science!

With the theme of "Why do artists need to learn about science?" first grade artists investigated landforms, translated them into lines and placed them horizontally on their paper to create a landscape that shows depth. They used warm colors and cool colors, one scheme for the  sky and the other for the ground. I am not the first person to create these kinds of landscapes with students, they are very striking, but I have not seen anyone tell how they connected these beauties to other learning taking place. This show will be on display at the Regal Cinema 16 in Green Hills (Nashville, TN) for the month of November! I have included some pictures from this Wednesday's opening with the artist and their families! Enjoy!!

This is my daughter! So proud!!

I had students mount them on different colors by class so they would be easy to find at the show and easy to sort afterwards.

I am the concession lady. I usually have a parent volunteer willing to help. Everyone stops for the movie popcorn and pink lemonade donated by the movie theater so I have a chance to chat with parents.


Friday, November 6, 2015

Tennessee Art Education Association Conference

My husband professionally refers to both the state and national Art Ed conferences as "Tina's Art Party". I regularly attend and I enjoy networking with my fellow art teachers more than you know. It is so good for the soul to be surrounded by folks that share your passion and understand the all-consuming art teacher lifestyle! At this year's conference, the Friday night reception was a costumed even, in honor of Halloween weekend, and all were invited to dress as their favorite artist, artwork or style. I chose Pop Art, but I thought you may like to see what art teachers wear to a costume party! I am sorry that I didn't get a picture of "The Art Teacher's Nightmare".
Klimt Ladies

Cave Painting

Frida and her sugar skull

Egyptians! Always shaking their Asps.

My name is Georgia.

Charlie Russel (also Bunny's granddaughter!)

Andy and Georgia

Roy's Girls

Conceptual art with Jimmy Buffet overtones.

Mona and Leo

Not Banksy

The walking No-No board

Wednesday, November 4, 2015

Sketchbooks Assembled!!

So...here they are! Our finished sketch books turned out great! I love this idea. You can take a less expensive book and make it look so amazing with the painted canvas board, a strip of fabric and some really cool tape. I love it! It took us two classes to paint and assemble the books, but it was worth it!


Sunday, October 18, 2015

Wanted: An Amazing Art Show


Last year, my third grade team asked me if I could help with a project (PBL) they do in the spring. I have a huge curriculum the third grade scope and sequence is one of the longest that I teach so I could not import the project into the art room, which was their first choice. I started thinking about ways I could help without being in their classrooms. First, I made a video on poster making and using guidelines.  Then I decide to include some of these skills in our self portrait unit. 


The students created Wanted Posters based on character studies they were doing in their classroom. We expand the learning by looking at Fredric Remington's depiction of the Old West. The independent, adventurous, brave, honest spirit of the Western pioneers, Native People  and soldiers that he illustrated inspired many to travel into the American West.


First students created an identity web in their idea books (https://youtu.be/IC96j35WQkk). Then they were asked to choose a positive character trait to be "Wanted" for as well as an Old West style name that was positive and personal. Some went so far as to make the name match the trait in context. Using rulers guidelines were drawn in and letters were printed and centered. (Math! Divide to find the center point!) Students reviewed facial proportions and learned how to draw hats onto their portraits. Finally the paper was trimmed to make it look ragged and stained with liquid watercolor to give it the illusion of age.

Then the posters were laminated and hung at the Regal Cinema 16 in Green Hills for the month of October! We opened the show with a reception for artists and families with popcorn and lemonade. We had a wild time celebrating these outrageous characters!!


Monday, September 28, 2015

Sketchbook Club Kick-off...Day one of our Sketchbook design.

I tried something new and different for my second year of 3rd and 4th grade Sketchbook Club. We used some recycle cardboard circles to create designs for the front and back covers on canvas board. Then we painted the Sharpie designs with tempera. The boards will be cut on the paper cutter and used for the front and back covers of the wire bound sketchbooks. They look so cool I just had to share a few. We will finish painting them next week and then attach them to the sketchbooks with glue and some very fancy tape. The kids LOVED this simple overlapping method and it was so fun to create! I will post more on the contraction as we finish them! There are some specks below.
 Here are some specks for you...The canvas boards are 9x12 (pack of five is about $8 at Micheals). They will fit a 5 1/2 x 9 inch sketchbook. I cut them on the paper cutter. (I know I will look like one of those people from the skittles commercial with one giant arm, but it is worth it!) The paint is premium Blick Tempera Paint. I will probably toss a clear coat on them to seal them when they are finished. Day one! Pretty Awesome!


Thursday, September 17, 2015

Oceans of fun with painted paper!

 Painted paper has OCEANS of applications!! This summer, right before we went back to school (the first week of August which is still summer!!) I taught this fun painted paper/collage lesson with our on-site extended day program (Tiger Club). I painted the ocean wall years ago, when I had all that free time before kids and marriage. It is kind of a landmark in our building, but it was designed to be an interactive wall several versions of the curriculum ago and we created sea creatures and added them every year when 1st grade studied the ocean. I decided to revive a new version for some summer art fun!


SO...after I wrapped up a week at the Tennessee Arts Academy, I was so fired up about painted paper I couldn't wait to try it out. Here is a picture of Laura Lohmann in action at TAA!!


My "Tiger Club" kiddos are always willing to be my lab rats so I headed over there to test the waters! Here is what we did...
First we painted two papers each, some did more until the paint was gone. No water just mats to clean the brushes on...it was awesome!!
 

Aren't they awesome!!


The next day, we created our amazing fish! Cutting and gluing and sharing all the beautiful papers. No one even freaked out about not having THEIR paper.  Once they finished I had made "water" with craft paper. The dow rods I had fit perfectly into the plastic ceiling hooks so I made a pocket of folded paper at the top of the craft paper with the rod through it. The kiddos brought their finished fish straight to the paper for display. Once they were all finished and layer out on the papers I taped them in place and snapped the rods into the ceiling hooks in about five minutes! They looked pretty awesome!